
The Ultimate Onigiri Guide: Make Japanese Rice Balls at Home
(Traditional & Modern Fillings)

Affiliate Disclaimer - There are affiliate links on this page, which means I may receive payment at no charge to you for purchases made through any links on this page.
Why Onigiri?
There’s a reason onigiri (おにぎり) is found in every Japanese convenience store, school lunch, and picnic basket. These humble rice balls are pure comfort: warm, portable, and endlessly adaptable. They’re also one of the easiest Japanese foods to master at home, whether you want to go traditional or use what’s in your pantry.
What Makes Onigiri Special?
Onigiri is everyday food with soul. Each bite holds the warmth of home, the ease of a picnic, or the adventure of travel. Unlike sushi, there’s no vinegar and no pressure to be fancy. Just rice, salt, and a world of fillings—classic or creative.
Onigiri: Traditional vs. Simplified
Traditional onigiri:
Made with Japanese short-grain rice
Classic fillings: pickled plum (umeboshi), salted salmon, kombu, bonito flakes
Hand-shaped with salted palms, sometimes wrapped in nori
Modern or pantry onigiri:
Any short-grain rice (Calrose works in a pinch)
Fillings like tuna-mayo, teriyaki chicken, or roasted veggies
Easy shaping tricks: plastic wrap or triangle molds
Bottom line: Authentic is wonderful, but onigiri is for everyone. Use what you love.
Step-by-Step: How to Make Onigiri at Home
Ingredients (makes 6 rice balls)
2 cups Japanese short-grain rice (or Calrose)
2 1/4 cups water
Sea salt (to taste)
Filling of choice (see options below)
2–3 sheets nori, cut into strips
Classic Filling Ideas
Umeboshi (pickled plum)
Salted salmon (broiled, flaked, salted)
Okaka (bonito flakes + soy sauce)
Kombu tsukudani (simmered seaweed)
Modern/Pantry Filling Ideas
Tuna-mayo (tuna + Kewpie mayo + salt/pepper)
Teriyaki chicken (chopped and saucy)
Avocado with furikake
Spicy canned tuna or seasoned eggs
Roasted veggies (chop small!)
1. Cook the Rice
Rinse rice until water runs clear. Cook with water in a rice cooker or on the stove. Let it rest 10 minutes before using.
2. Prepare Your Fillings
Get creative! Classic or modern—just keep the portion small (about 1 heaping teaspoon per onigiri).
3. Shape the Onigiri
Set up a bowl of water and a dish of sea salt. Wet hands, rub with salt. Scoop 1/3 cup warm rice into your palm, press a dent in the center, add filling, cover with rice. Gently shape into a triangle or round. (Don’t pack too tight.)
Pro tip:
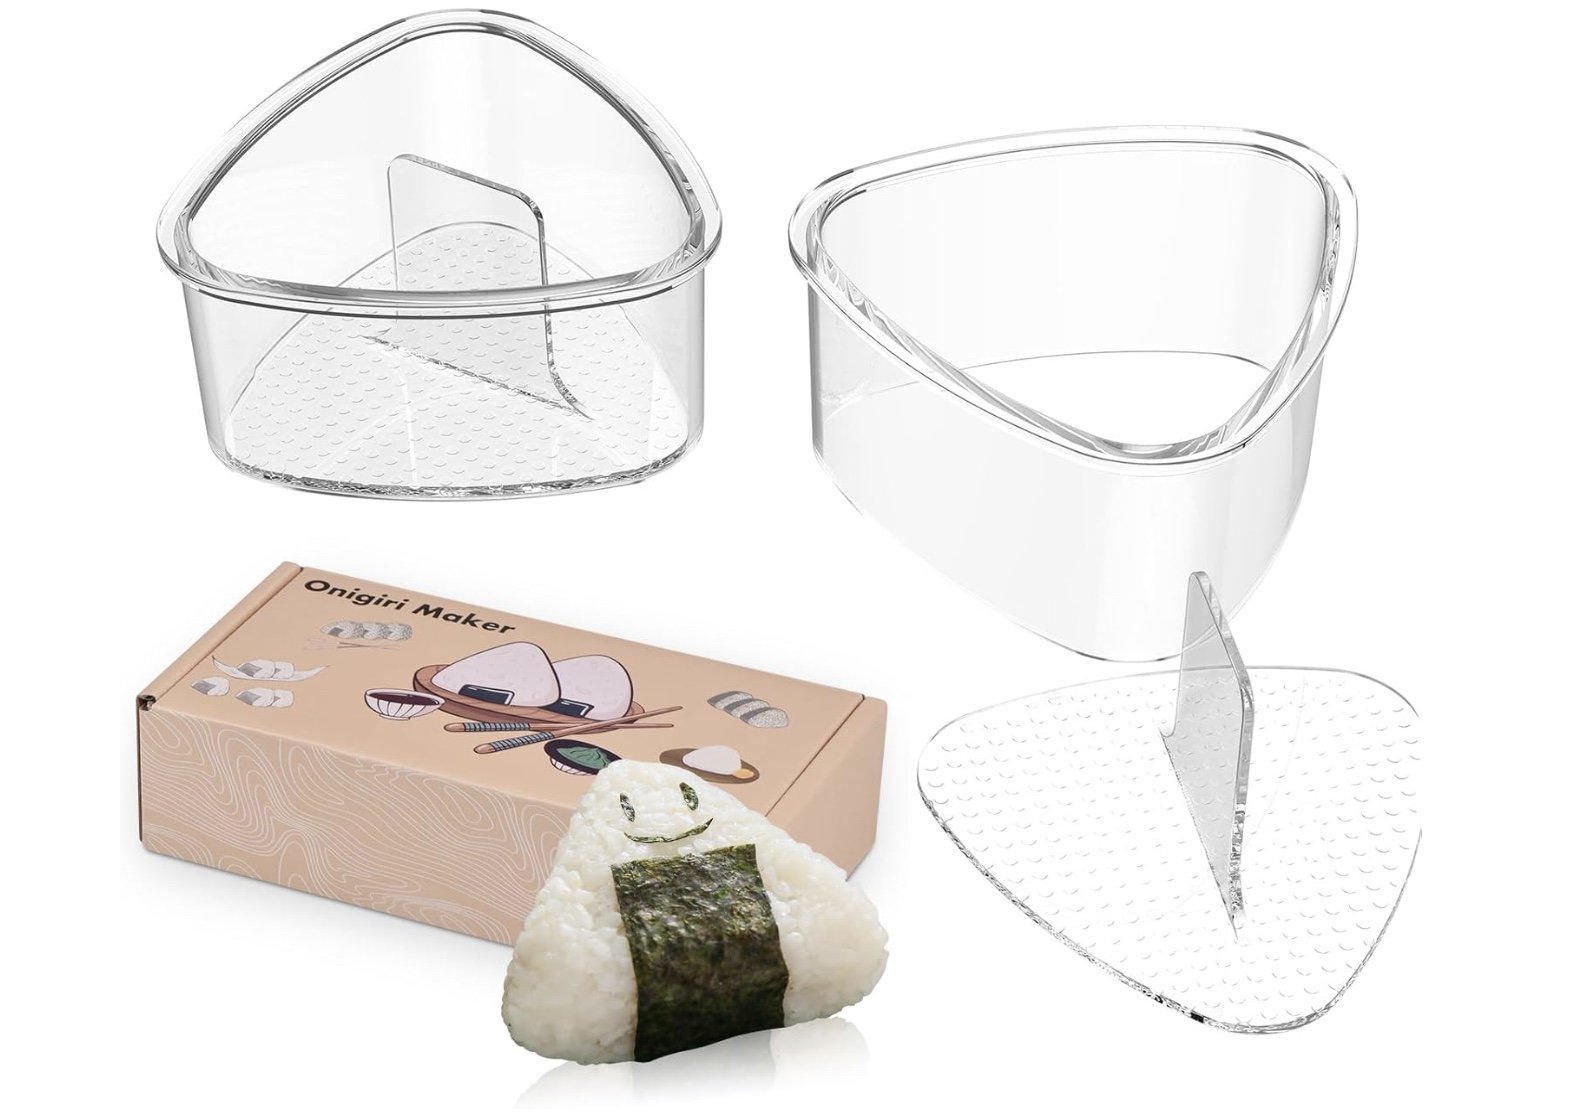
Use plastic wrap to shape onigiri if you want a mess-free method or have kids helping.
4. Wrap with Nori
Wrap a strip of nori around each rice ball just before serving so it stays crisp.
5. Serve or Pack
Eat right away or pack for lunch. Onigiri is best at room temperature and same day—don’t refrigerate if possible.
Why I Love Onigiri (A Personal Note)
The first time I had onigiri, I was picnicking under cherry blossoms in Tokyo—nothing fancy, just salty rice, a little salmon, and the soft crunch of nori. It’s become my favorite “make-ahead” lunch, a snack for road trips, and a blank canvas for whatever’s in the fridge.
Try it once, and you’ll always want a few tucked away for later.
Pro Tips for Perfect Onigiri
Use only short-grain rice—long-grain won’t stick
Salt your hands to season the rice and keep it fresh longer
Don’t overfill—keep it simple for best shape
Eat within a few hours for best texture (rice hardens in the fridge)
For parties, set up an “onigiri bar” with fillings and let everyone shape their own
Onigiri vs. Sushi vs. Kimbap
Onigiri: Salted rice, no vinegar, often with simple fillings, hand-shaped
Sushi: Vinegared rice, usually with fish, not typically shaped by hand at home
Kimbap: Korean; filled with seasoned veggies, egg, sometimes meat, and always rolled
Serving Suggestions
Pack in a bento with pickles and fruit
Serve with miso soup or a mug of green tea
Try for breakfast, lunch, or a picnic—anytime!
Recipe Card
Ingredients:
2 cups Japanese short-grain rice
2 1/4 cups water
Sea salt
2–3 sheets nori (seaweed), cut into strips
Filling of your choice (see above)
Instructions:
Rinse rice until water runs clear. Combine with water in rice cooker or pot. Cook and rest 10 min.
Prepare fillings—keep portions small (1 tsp each).
Wet hands, rub with salt. Scoop 1/3 cup warm rice, press a dent, add filling, cover with more rice.
Gently shape into triangle or round. Wrap in nori just before serving.
Eat immediately or pack for lunch; best at room temp.
Notes:
Use only short-grain rice for best texture.
Onigiri is best fresh. Don’t refrigerate if possible.
Frequently Asked Questions
Can I use leftover rice?
No—onigiri works best with fresh, warm rice.
How do I keep onigiri fresh?
Wrap in plastic or wax paper, store at cool room temp, and eat the same day.
Can I freeze onigiri?
Yes, but without nori. Thaw, reheat gently, and wrap in fresh nori.
Ready to Make Onigiri?
If you try this recipe, tag @lifesheloves_com on Instagram or comment below with your favorite filling. Happy shaping!